 |
Create a new Recipient Group
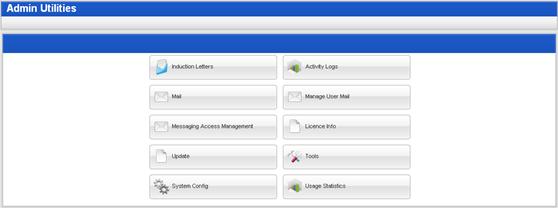
1. On the admin menu bar, click Admin Utilities. The Admin Utilities page appears.
2. Click the Mail button. The Mail page appears.
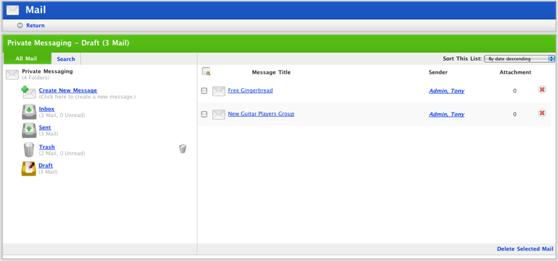
3. Click Create New Message. The Edit Message page appears.
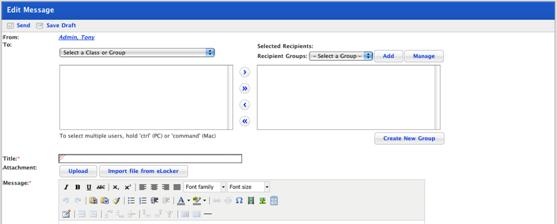
4. Click the Create New Group button. The My Recipient Group page appears.
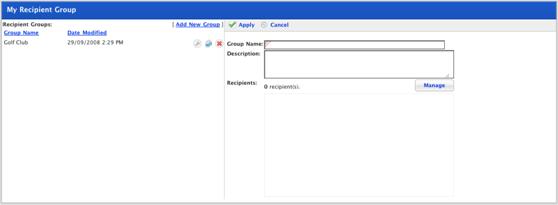
5. In the Group Name field, type a name for the new recipient group.
6. In the Description field, type a recipient group description.
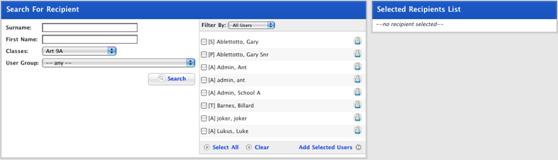
7. Click the Manage button. The Search for Recipient page appears.

8. In the Search fields, enter your search terms.
9. Click the Search button. The search results appear.
|
|
Use the Filter By drop-down list to filter the search results by user type. |

10. Select the users you want to add to the recipient group.
11. Click Add Selected Users. The users are added to the Selected Recipients List.
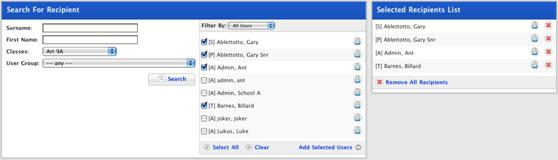
12. To add more users, repeat steps 8 to 11.
13. Once you have selected the users, click the Return button. The My Recipient Group page appears.
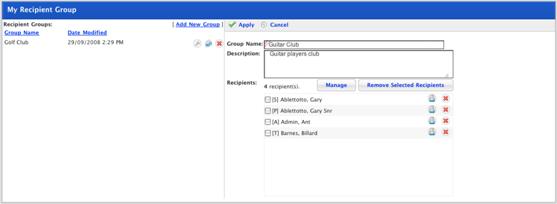
14. Click Apply. The Recipient group is saved.
You can now select the group of users whenever you send a new Studywiz message.