 |
Create a Student Account
Follow this procedure to create a new Student account in your Studywiz deployment.
1. On the Studywiz bar click User Management and then Students. The Students page appears.
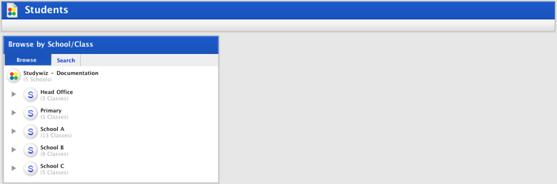
2. Expand the School in which you want to create the new Student. The Classes within the School appear.
3. For the Class in which you want to create the new Student click the add student button. The New Student panel appears.
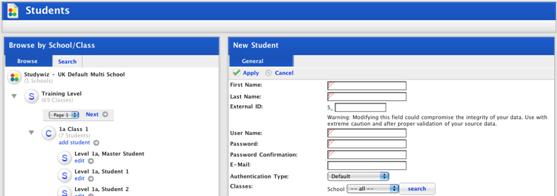
4. Fill in the following fields:
• First Name
• Last Name
• User Name
• Password
• Password Confirmation
• E-Mail.
|
|
Do not change the External ID field. |

5. From the Authentication Type drop-down list select default.
|
|
Studywiz can authenticate users against LDAP, Active Directory or other authentication servers. To authenticate the user according to the default setting for the user type, select default. To authenticate the user against the Studywiz database select internal database. |

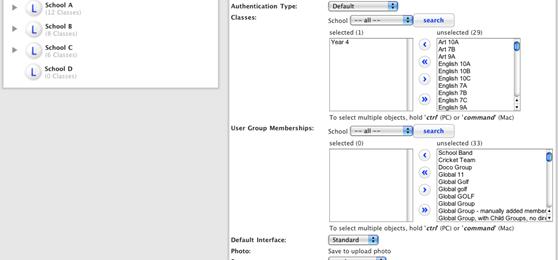
The selected field is filled by default with the class in which you are creating the student.
a. If you need to add the Student to other Classes, in the Classes area, from the School drop-down list select the School to which the Student belongs.
b. From the unselected list select the Classes with which the Student will be associated in Studywiz.
c. Click the Add Selected  button. The Classes are added to the
selected list.
button. The Classes are added to the
selected list.
6. In the User Group Memberships area, from the unselected list select the Groups with which the Student will be associated in Studywiz.
7. Click the Add Selected button. The Groups are added to the
selected list.
8. From the Default Interface drop-down list, select whether the new student will be using the primary interface or the standard interface.
|
|
These settings are included to ensure compatibility with previous versions of Studywiz. They may not be active in your deployment. |
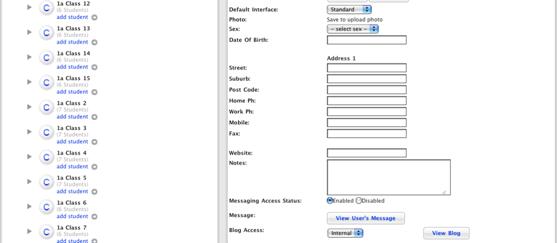

9. In the remaining fields enter the Student’s information.
10. Leave the Personal Storage Limit value set to default.
11. Click the Apply button. The ‘Saved’ notification appears and the Photo upload feature is activated.
12. If you want to upload a photo of the Student, click the Upload Photo button and upload a photo.
13. Click Apply. The ‘Saved’ notification appears.