 |
Upload Photos Directly
To upload photos you need to first place all the photos for the user-type inside a single zip file, which you can then upload to Studywiz.
|
|
When you upload photos directly, the photos are stored on, and accessed from, the Studywiz server. |

1. Ensure that the photos are JPEG image files. The Studywiz Bulk Photo Import tool accepts JPEG image files only.
2. Ensure that the file names are in the following format:
<External ID>.jpg
• The External ID value is the user’s Studywiz External ID.
• Some examples of appropriate file names are:
319391A.jpg
9881.jpg
extpid441.jpg
3. Add the image files to the root level of the Zip file (not in sub-directories).
4. Ensure you are logged into Studywiz as an administrator.
5. On the admin menu bar, click Admin Utilities. The Admin Utilities page appears.
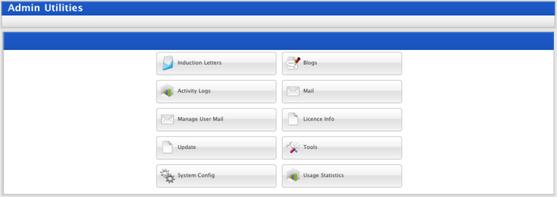
6. Click the Tools button. The Admin Toolbox page appears.
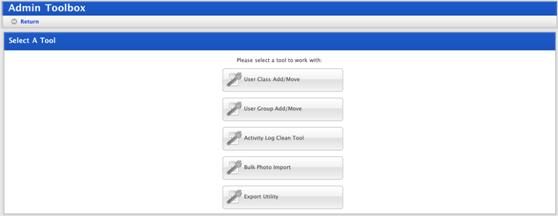
7. Click the Bulk Photo Import button. The Bulk Photo Import page appears.

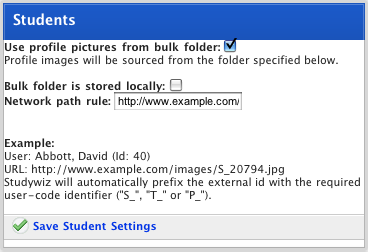
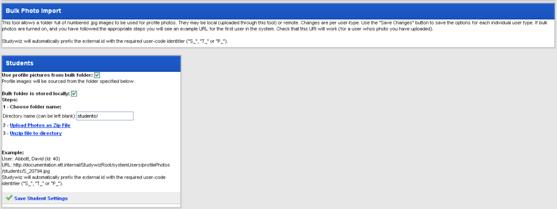
The Bulk Photo Import page contains four main panels – one is a description of the tool, the other three control the settings for each user type (Students, Teachers and Parents).
8. For the user type for which you want to import photos, select the Use profile pictures from bulk folder option. The <user type> panel expands to reveal the Bulk Photo settings for the selected user type:
9. Select the Bulk folder is stored locally option. The panel now expands to display the photo upload options:
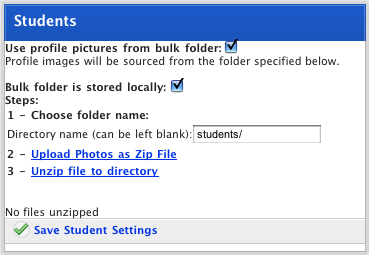
10. In the Directory name field, enter the name of a folder to which the photos will be uploaded. You can enter any name, or leave the field blank.
|
|
For example, you may wish to create a folder called sports, which will contain photos of users in the school sports uniform. Later, you could create a folder called standard to contain the photos of users in standard school uniform. By specifying separate folders, you can store two sets of photos per user-type and switch between them at a later date. |

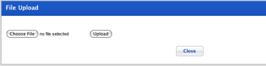
11. Click Upload Photos as Zip File. The File Upload page appears in a new window.
The file upload behaviour depends on the operating system you are using. Macintosh and Windows file upload procedures are shown below:
|
Macintosh |
|
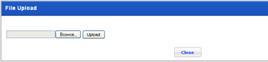
Windows |
|
|
|
|
|
a. Click the
Choose File button. The Finder
appears. |
|
a. Click the
Browse button. The File Upload dialog
box appears. |
|
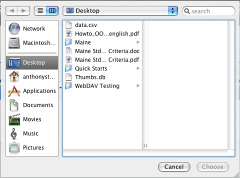
b. Navigate to the appropriate directory. |
|
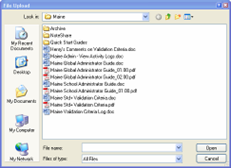
b. Navigate to the appropriate directory. |
|
c. Select the zip file you want to upload. |
|
c. Select the zip file you want to upload. |
|
d. Click the Choose button. The ‘Uploading. Please wait…’ notification appears. |
|
d. Click the Open button. The ‘Uploading. Please wait…’ notification appears. |
12. Once the upload has completed successfully, click Close. The window closes.
13. Click Unzip file to directory. Studywiz extracts the photos from the zip file. The Unzipping Files page appears.
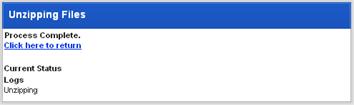
14. Click the Click here to return link. The Bulk Photo Import page reappears and displays the ‘Unzipped <number> files’ notification.
15. Click Save <user type> Settings.
|
|
The Generating New User Templates page may appear briefly. |
The bulk photo upload process is complete. If configured correctly, a user's photo will be loaded from Studywiz when viewing his/her user details.