 |
Import a Studywiz School Year
Follow this procedure to import an ics or an xml file as a new Studywiz School Year. When you import a Studywiz School Year, it will automatically be given its original name with ‘Imported – ‘ added to the beginning.
|
|
If you want download a Studywiz School Year, refer to the Download a Studywiz School Year procedure. |
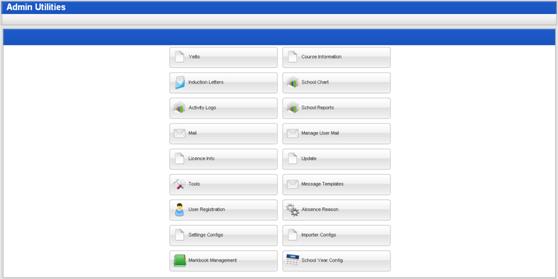
1. On the Studywiz bar, click Admin Utilities. The Admin Utilities page appears.

2. Click the School Year Config button. The School Year Config page appears.

3. Click the Import button. The Select a file to upload panel appears.
The file upload behaviour depends on the operating system you are using. Macintosh and Windows upload procedures are shown below:
|
Macintosh |
|
Windows |
|
|
|
|
|
a. Click the Choose
File button. The Finder appears. |
|
a. Click the
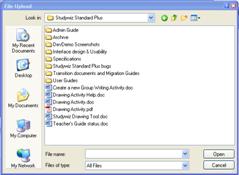
Browse button. The File Upload dialog box appears. |
|
b. Navigate to the appropriate directory. |
|
b. Navigate to the appropriate directory. |
|
c. Select the ics or xml file. |
|
c. Select the ics file or xml file. |
|
d. Click the Choose button. The dialog box closes and the Select a file to upload screen reappears. |
|
d. Click the Open button. The dialog box closes and the Select a file to upload screen reappears. |
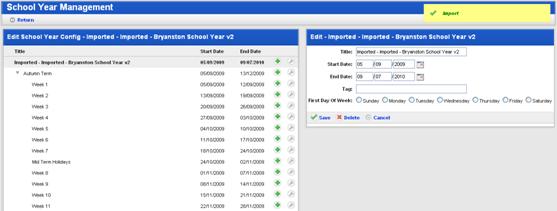
4. Click the Upload button. The School Year Management page appears.

The Studywiz School Year’s periods are listed.
5. Make any necessary changes to the School Year.
6. Click Save. The changes are saved.


