 |
Move Users between Classes
Follow this procedure to move Teachers and Students from one Class to another.
1. On the admin menu bar, click Admin Utilities. The Admin Utilities page appears.
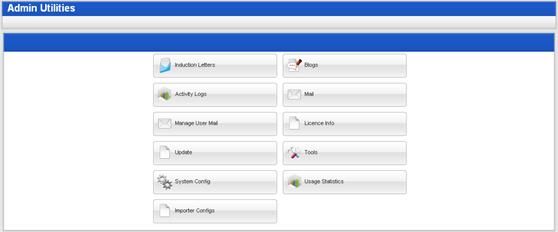
2. Click the Tools button. The Admin Toolbox page appears.
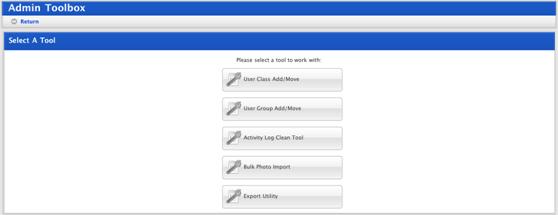
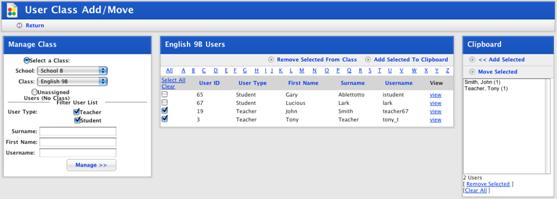
3. Click the User Class Add/Move button. The User Class Add/Move page appears.
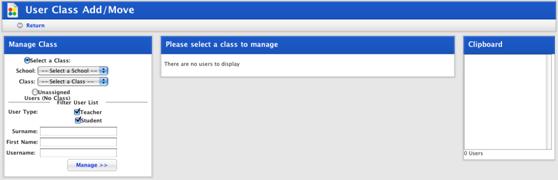
4. In the Manage Class panel ensure that the Select a Class option is selected.
5. From the School drop-down list select the School which contains the Class in which you expect to find the users you want to manage.
6. From the Class drop-down list select the Class in which you expect to find the users you want to move.
|
|
Filter the user list by selecting user types and by entering information in the Surname, First Name or Login Name fields. |

7. Click the Manage button. The <Class name> Users panel appears and displays the results of the search.
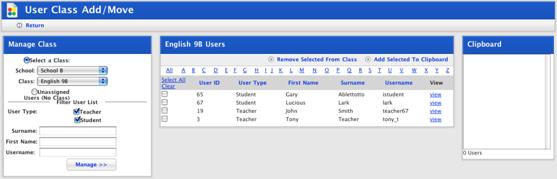
8. Use the checkboxes to select the users you want to move.
|
|
Use the Select All and Clear links to select or deselect all users. The View links open the User Details pages. Sort the list by clicking the column headers. |
9. Click Add Selected To Clipboard. The selected users are copied to the Clipboard and remain in the Class.
10. In the Manage Class panel select the School and Class to which you want to add the users.
11. Click the Manage button. The Class appears in the <Class name> Users panel.
12. In the Clipboard panel select the users you want to add to the Class.
13. Click Add Selected. The users are added to the Class and remain on the Clipboard.
|
|
When you have finished with the users on the Clipboard click Clear All to clear the Clipboard. If you don’t want to remove all users, select the users to remove and click Remove Selected. The selected users are removed. |