 |
Edit a Group
1. Click Hierarchy Management and then click User Groups. The User Groups panel appears.
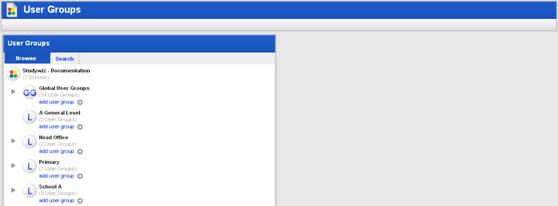
2. Locate the Group you want to edit:
• If the group is a Global Group, expand the Global Groups folder.
• If the group is a School Group, expand the appropriate School folder.
|
|
Use the Search tab to search for the Group. |

3. Adjacent to the name of the
Group, click the Edit  button. The Edit Group panel
appears.
button. The Edit Group panel
appears.
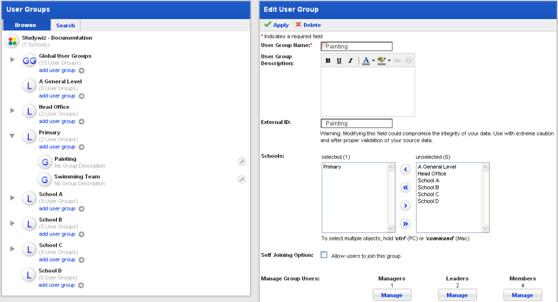
4. Edit the User Group as required.
|
|
If the Group is a Global Group that gets its users from Child Groups at Schools, you cannot directly manage the Group’s Members. |

The changes you can make to the Group depend on the setup of the Group. See the following sections of this document for instructions on configuring Groups:
• Set a Group’s Joining Options,
• Change a User’s Role within a Group
5. Click Apply. The changes are saved.
 Set a Group's Joining Options